


")


 Flexible Monocrystalline Solar Cells and accessories")


Welcome to MR WATT SRL
MR WATT SRL is an innovative Italian company specializing in the introduction and dissemination of solar energy technologies. We offer efficient and sustainable photovoltaic solutions for private homes, industrial companies, and agricultural activities.
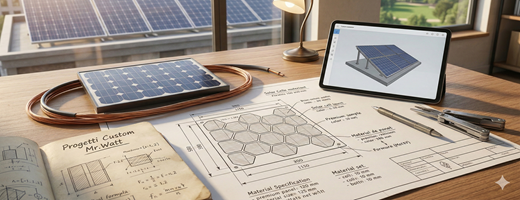
With years of experience in the sector, MR WATT stands out for its quality in the installation and maintenance of solar panels, designed to meet the specific needs of our customers. Our customized photovoltaic modules are made with high-quality and efficient cells, available in custom sizes and voltages, ensuring optimal performance and a perfect fit for every type of project.
MR WATT is also a privileged partner for construction companies that wish to integrate innovative photovoltaic solutions into their products, thus contributing to a more sustainable future.
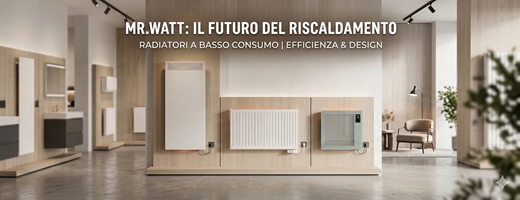
Moreover, we are proud to exclusively offer the following brands of low consumption radiators:
- Nobo (Norwegian)
- Tego (Swedish)
- BVF (Hungarian)
Our vision is clear and ambitious: to make solar energy accessible everywhere, transforming homes, industries, cars, parking lots, and gardens into sustainable and innovative structures, fully respecting their aesthetic and structural integrity.
On this site, you can discover a wide selection of high-quality photovoltaic products: solar cells of various sizes, complete kits for photovoltaic systems, mini solar panels, and professional or DIY accessories.
Choose MR WATT SRL, choose solar energy for a better future.


