



Customer projects · DIY panel
A 160 W DIY solar panel: Alessandro's project
Alessandro Paglialonga turned an MR WATT 36-cell kit into a one-metre-square module with tempered glass and a window-frame profile. Here is how he did it, step by step.
Kit used
36 mono 6"x6" cells
Finished size
1 × 1 m, 5 mm glass
Frame
40 mm aluminium window profile
The kit used in this project
Alessandro built his panel with this kit: cells, tabbing ribbon, flux and diode are all included.
DIY solar panel kit 160W – 36 cells 6x6
36 grade-A monocrystalline cells with everything you need to solder them.
See the 160W kitFrom soldered cells to strings
Once the cells were soldered, Alessandro laid them face down on a plywood board marked with the spacing: he chose 3 mm between cells.
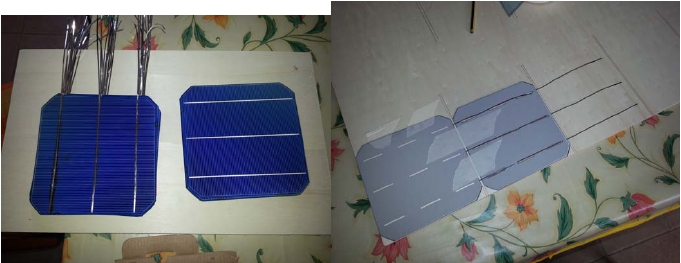
The cells on the work board with 3 mm spacing
He then soldered the rear connections and made 6 strings of 6 cells. The polycarbonate in the photo becomes the rear support.
For the frame he used a 40 mm aluminium window profile with an inner opening of 1 metre by 1 metre.
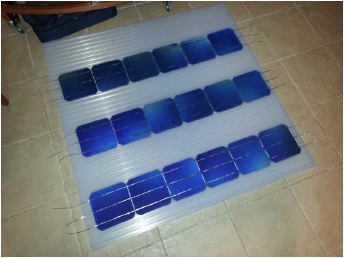
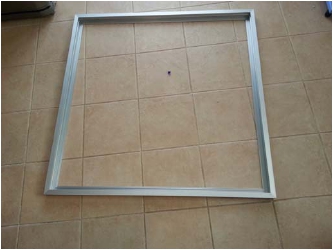
The soldered strings and the aluminium frame with a 1 × 1 m opening
Tempered glass and assembly
The front is 5 mm tempered glass, 1030 × 1030 mm. The cells are laid face down on the clean, dry glass and fixed with a wide, good-quality white tape.
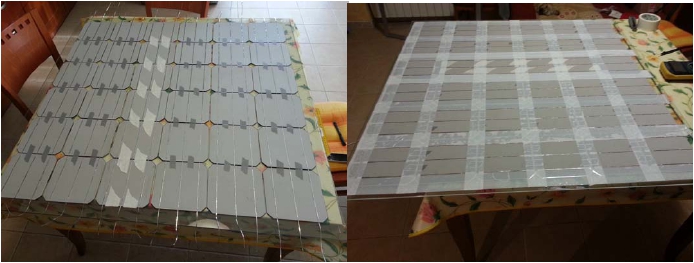
The cells face down on the tempered glass, fixed with tape
A sheet of 10 mm twin-wall polycarbonate goes over the cells: its channels let the cables pass through to the positive and negative outputs.
Sealing: why tape and not silicone
Before laying the polycarbonate, Alessandro ran a waterproof PE glazing tape, adhesive on one side, around the whole edge of the glass. He did the same between the outer face of the glass and the aluminium frame.
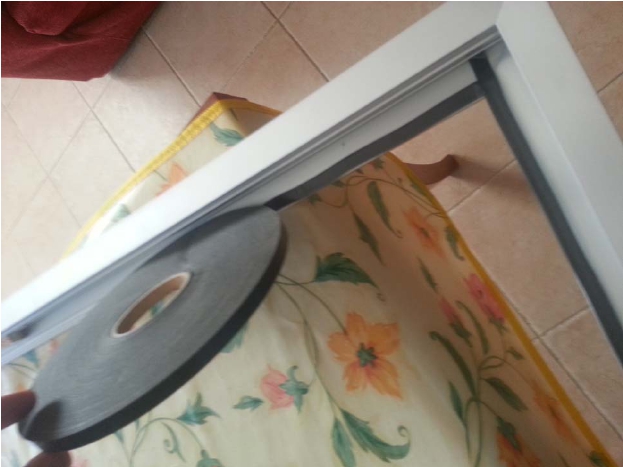
Waterproof tape between glass, polycarbonate and frame
Finally he fitted the aluminium glazing beads, which keep the layers under pressure, and a gasket for extra water tightness.
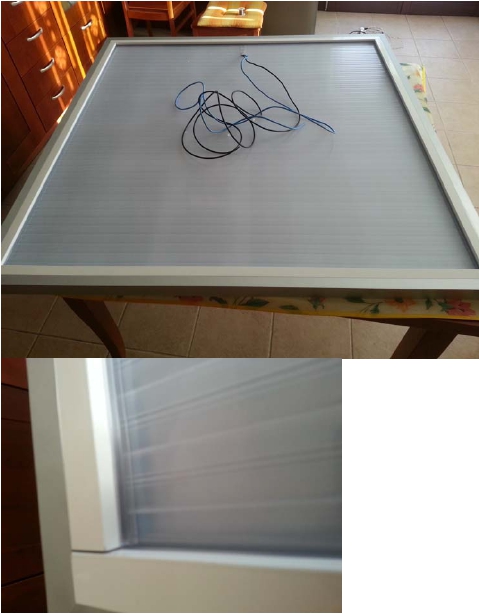
Glazing beads and gasket: the panel is closed
The result
For a first panel, it looks great. The output is convincing too: the reading in the photo was taken at 4 pm.
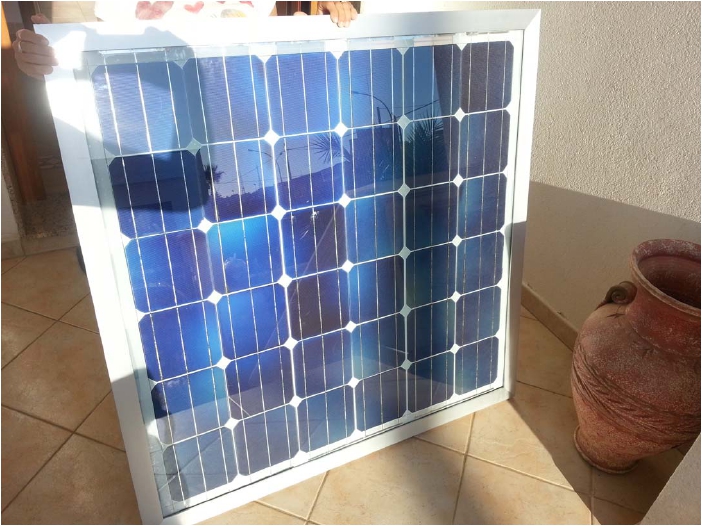
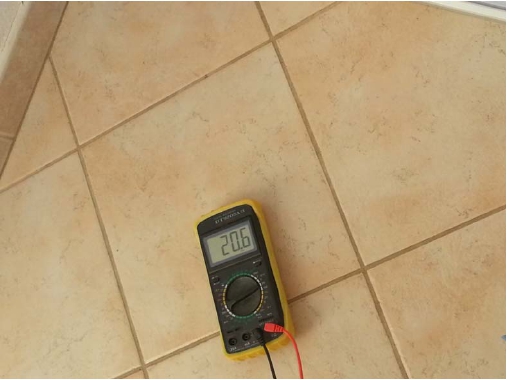
The finished panel and the output test at 4 pm
“I'd say the result is good, considering it's my first panel. Let's see the second one!”
— Alessandro Paglialonga
Want to build your own panel?
Choose the kit with the number of cells and the power you need: it contains everything to solder them.
See the 160W kitAll DIY kitsRelated guides
How to solder solar cells · DIY solar and the law
Project and photos by Alessandro Paglialonga, whom we thank for sharing his experience. A home-built panel suits low-voltage and off-grid use: before connecting anything to your home's grid, read our guide on legality and safety.