



Customer projects · marine
A DIY solar panel for the boat: José's project
José, a sailor from Santander, wanted to charge his onboard battery without paying chandlery prices. With an MR WATT cell kit he built a panel of more than 70 W.
Kit used
36 cells 3"x6"
Power
70+ Wp, 18 V
Application
Sailing boat, 12 V
To build this project today
The 70 W kit José used has been replaced by a version with more powerful monocrystalline cells. On a boat we also recommend a controller that charges two batteries.
DIY solar panel kit 80W – 36 cells 3x6
The same layout as José's, 36 cells of 3"x6", with grade-A monocrystalline cells.
See the 80W kitDuoRacer 10A dual-battery MPPT controller
Charges the house and engine batteries together: ideal on board.
See the controllerWhy build it yourself
On a boat everything costs more. For the power he needed, 60 to 70 W, José was finding panels at around 280 euros or more at the time. So he decided to build his own, starting with the solar panel and leaving the idea of a small wind turbine for later.
He knows northern Spain is not the sunniest place in Europe, but the goal was simple: keep the onboard battery charged at a fair cost.
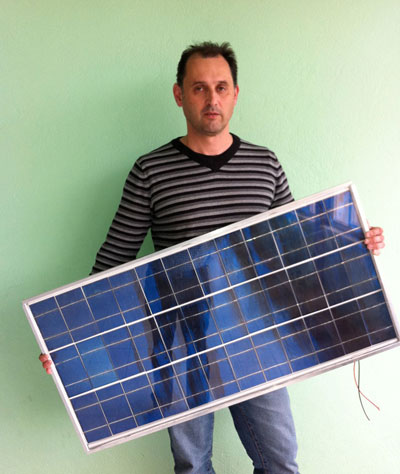
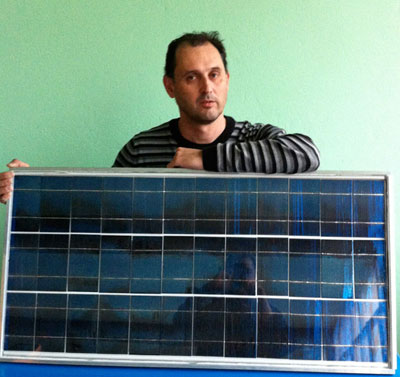
José and the panel he built for his boat
The materials
- 1 kit of 36 solar cells 3"x6", grade A, with ribbon and flux
- 1 charge controller, 10 A 12/24 V
- 2 polycarbonate sheets, 1.2 × 0.5 m
- aluminium profiles and clear silicone
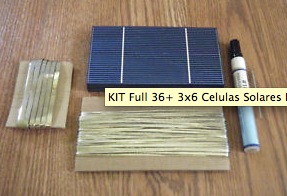
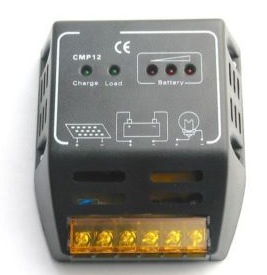
The cell kit and the charge controller
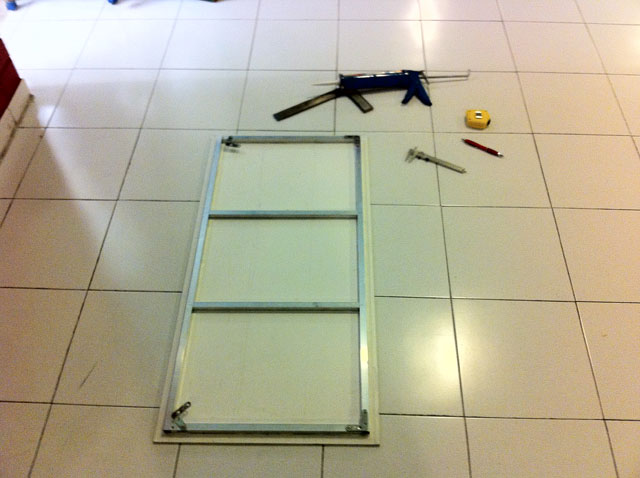
Polycarbonate, aluminium and silicone: the rest of the materials
Assembly, step by step
José sized the panel to hold 3 rows of 12 cells. The steps:
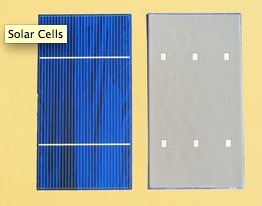
- apply flux to the cells and carefully solder the tabbing ribbon;
- connect the cells in series, row by row;
- glue the three rows onto a backing board with silicone;
- cover all the cells with clear polycarbonate and close it with the aluminium frame.
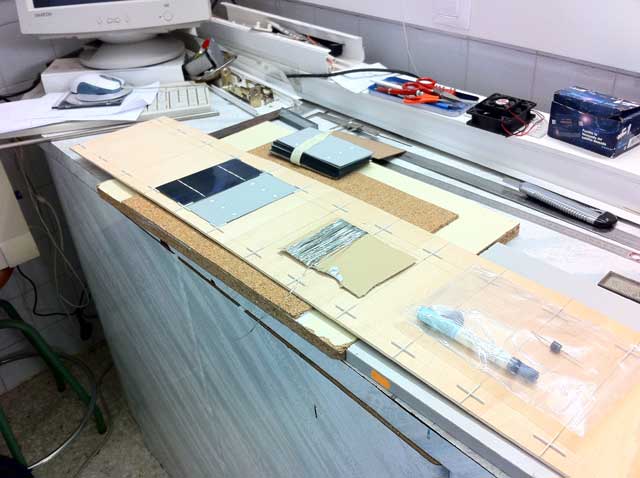
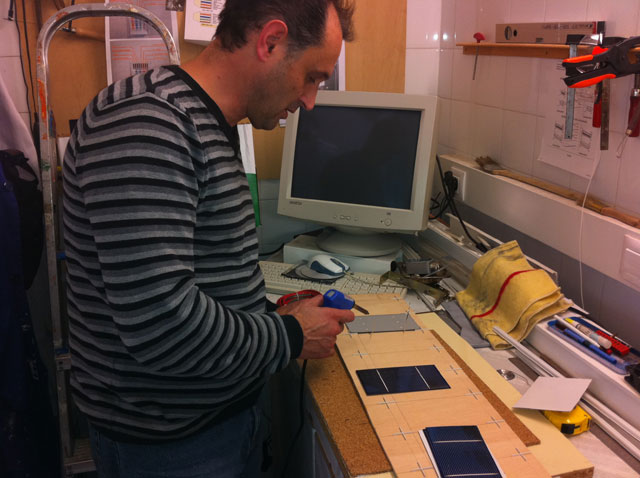
Soldering the ribbon onto the cells
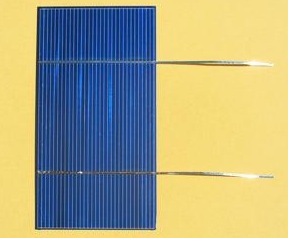
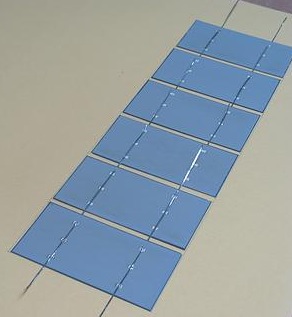
The rows of cells connected in series
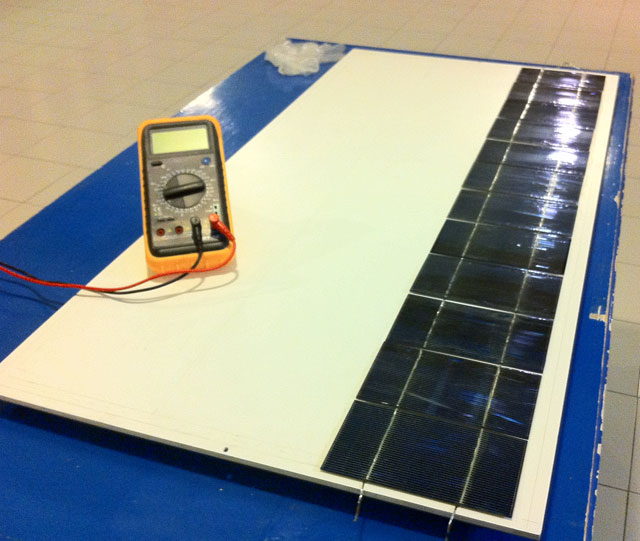
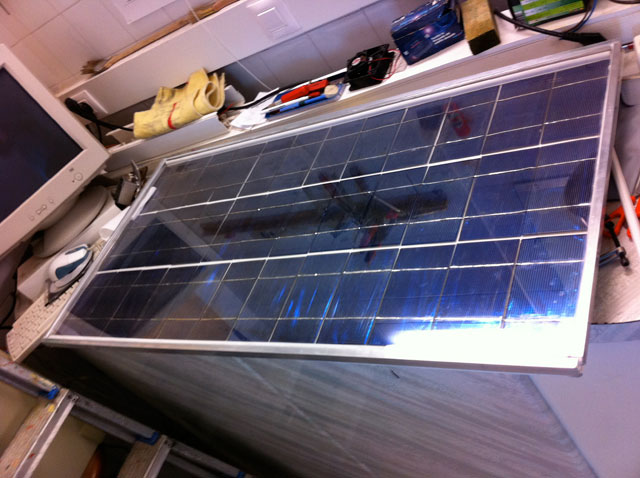
The three rows assembled under the polycarbonate
The result
The finished panel, tested first under artificial light and then in the sun, delivered the expected voltage.
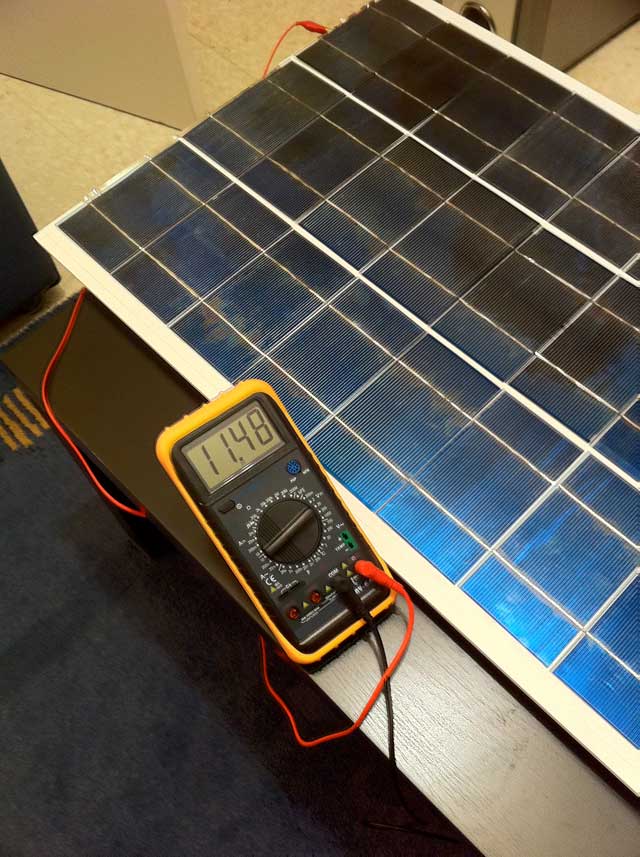
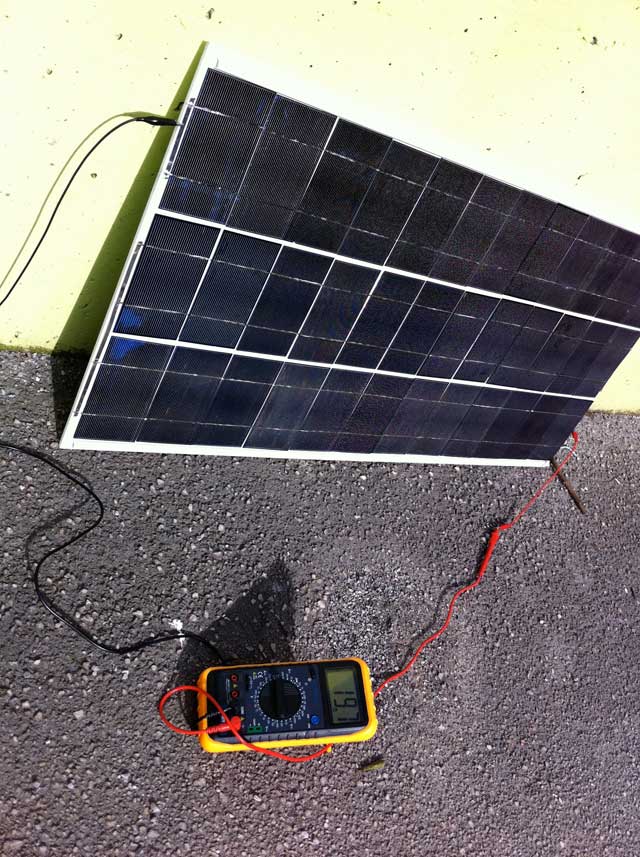
Left, the test under artificial light; right, in the sun
The last step was installing it on board.
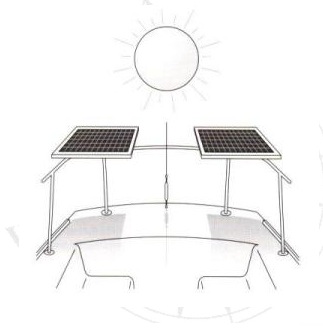
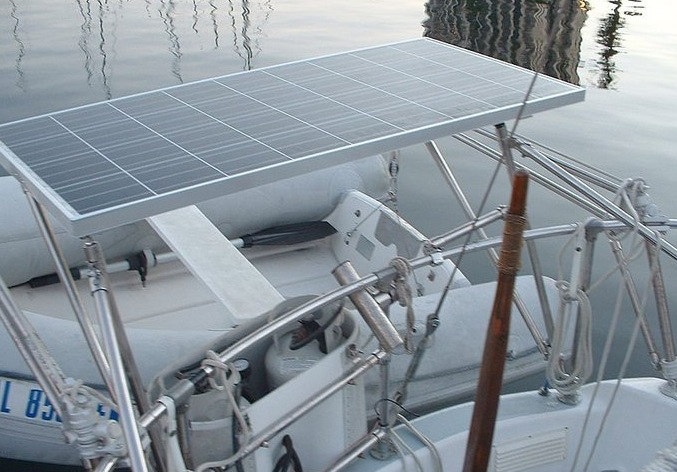
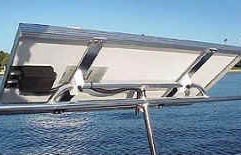
The panel installed on the boat
“I started with the solar panel to give it a try, and luckily I didn't waste time, work or a lot of money. And it was quite fun, too.”
— José, Santander (Spain)
Want solar power on board too?
Build your own panel with a cell kit, or choose a ready-made marine kit with panel and controller.
DIY kitsCamper and boating kitsRelated guides
How to solder solar cells · Camper solar panel: kits and sizing
Project and photos by José, originally published in Spanish on his blog. We thank him for letting us share them.