



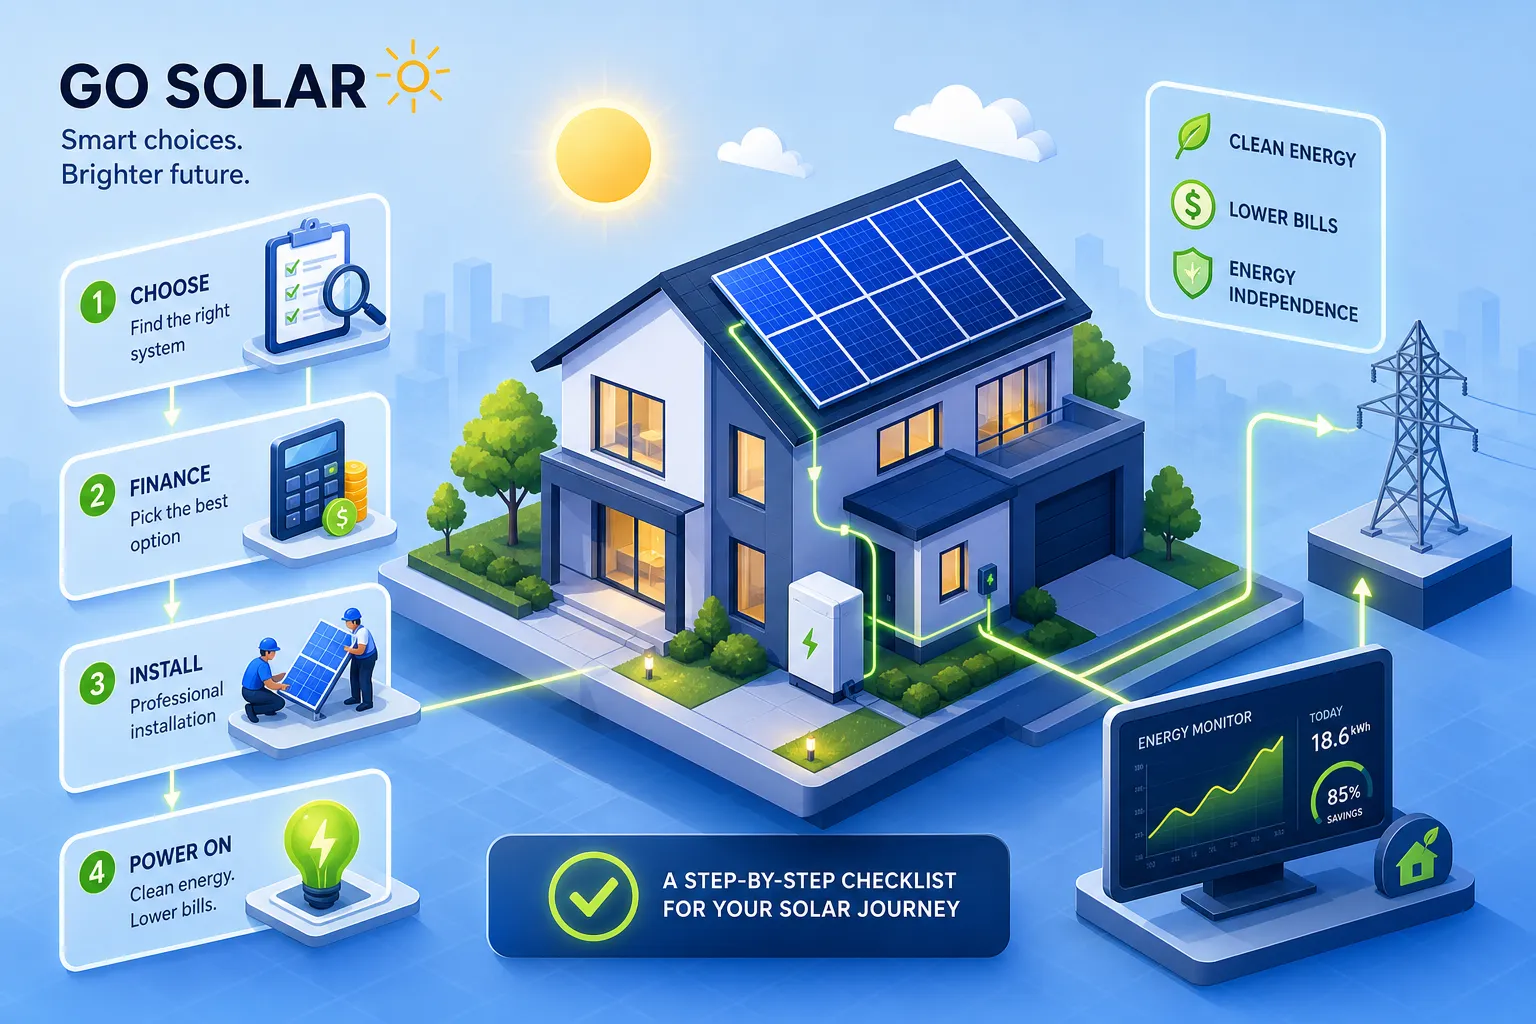
From electricity bills to commissioning: a practical checklist for planning a home photovoltaic system without skipping the decisions that matter.
Installing solar panels at home is not simply a product choice. It is an energy project that must align actual consumption, available space, the building's electrical system, grid rules and budget. A cheap quotation can become expensive when the system is undersized, components are mismatched, or essential work appears only after the contract has been signed.
This guide turns the process into a sequence you can verify: collect the data, choose the system architecture, estimate the required power, compare components and quotations, inspect the site, calculate the economics and check the final handover.
Important: the sizing method below is preliminary. A fixed or grid-connected system requires a site assessment, an electrical design that complies with local rules and, where required, qualified professionals. Sunshine is free; design mistakes are not.
1. Start with your goal and 12 months of consumption
Before comparing brands and prices, define what the system must achieve. Do you want to reduce daytime grid purchases, cover evening loads with a battery, power an off-grid property, or prepare for a heat pump and an electric vehicle? Different goals lead to different systems.
Collect at least:
- the last 12 months of electricity consumption in kWh, preferably month by month;
- your load profile: how much electricity you use during solar hours and after sunset;
- contracted power, single-phase or three-phase supply, and the condition of the distribution board;
- usable area, orientation, tilt, seasonal shading and roof condition;
- future loads such as air conditioning, heat pump, induction cooking, EV charging or workshop equipment;
- backup requirements during an outage and the maximum sustainable budget.
One monthly bill is a weak sample. It can turn an unusual season into a twenty-year design decision.
2. Choose the system architecture before the products
| Configuration | When it makes sense | What to check |
|---|---|---|
| Grid-connected, no battery | Most consumption occurs during the day and the priority is a lower initial cost. | Export rules, expected self-consumption, inverter power and treatment of surplus energy. |
| Hybrid with storage | Evening consumption is significant, imported electricity is expensive, or backup is required. | Usable capacity, charge/discharge power, inverter compatibility and the loads that are actually supported during an outage. |
| Off-grid | The property has no grid connection or the system supplies a dedicated autonomous load. | Winter demand, autonomy days, surge loads and a backup source. Size it for the difficult period, not the perfect summer day. |
A battery moves generated energy in time; it does not create additional energy. Size the generator and understand the load profile first, then decide whether storage is justified and how large it should be.
3. Make a preliminary estimate with local solar data
Use the expected specific yield for the installation location, expressed as annual kWh per installed kWp. The free PVGIS tool from the European Commission's Joint Research Centre can simulate location, orientation, tilt and system losses.
First-pass formula
Required PV power (kWp) ≈ annual energy target (kWh) ÷ expected specific yield (kWh/kWp/year)
Example: an annual target of 4,500 kWh and an estimated yield of 1,200 kWh/kWp/year gives 4,500 ÷ 1,200 = 3.75 kWp. With 450 Wp modules, the preliminary count is about nine panels, or 4.05 kWp.
Then correct the result for:
- shading and multiple orientations;
- temperature, cabling, mismatch and inverter efficiency;
- usable area and safety clearances;
- the ratio between annual generation and real self-consumption;
- DC oversizing relative to the inverter, within the manufacturer's limits;
- long-term degradation and future growth in demand.
Producing as much energy as you consume over a year does not mean energy independence. Summer and winter, noon and evening do not automatically balance each other.
4. Compare panels, inverter and battery on the same basis
Photovoltaic modules
- Rated power and efficiency: efficiency is particularly important when space is limited; wattage alone does not tell you the required area.
- Dimensions and mechanical loads: they must suit the roof, mounting system, wind and snow conditions.
- Temperature coefficient: it shows how output changes as the cells become hotter.
- Separate warranties: distinguish product warranty from performance warranty.
- Documentation: request the datasheet, traceability and evidence of qualification and safety, for example against IEC 61215 and IEC 61730.
Inverter
- string voltage/current compatibility with the MPPT operating windows;
- enough MPPT inputs for different roof pitches or orientations;
- single-phase or three-phase connection, AC rating and grid-operator limits;
- hybrid, zero-export, backup and monitoring functions;
- service network, spare-part availability and warranty duration.
Battery storage
- usable rather than only nominal capacity;
- continuous and peak power, depth of discharge and round-trip efficiency;
- cycle or energy-throughput warranty, operating temperature and protections;
- future expansion and compatibility;
- which circuits remain powered in an emergency: “battery ready” does not automatically mean “the house remains live during a blackout”.
5. Check the roof, shading and electrical route
Modules may operate for decades, so the roof must be able to support the same timeline. Before ordering, assess the roof condition, request a structural check where necessary and analyse shading across the seasons.
Also verify waterproofing, fixing points, ventilation beneath the modules, cable routes, inverter and battery locations, earthing, electrical protection, maintenance access and any fire-safety clearances. If the roof is small, shaded or irregular, compare alternative roof areas, pergolas, ground mounts or custom photovoltaic modules rather than forcing standard panels into the wrong space.
6. Compare at least three genuinely equivalent quotations
Three prices are not comparable unless they describe the same system. Each proposal should state:
- module DC power and inverter AC power;
- exact manufacturer and model code for every major component;
- layout, number of strings and a preliminary electrical diagram;
- estimated annual generation, assumed losses and weather-data source;
- self-consumption assumptions, energy prices and economic scenario;
- mounting, protection, cabling, monitoring and ancillary work included;
- permits, grid connection, testing and final documentation;
- product, installation and service warranties, with the responsible party clearly identified;
- exclusions and potential costs that have not yet been quantified.
Warning signs: pressure to sign immediately, “guaranteed” savings without disclosed assumptions, components described only as “equivalent”, no itemised quotation, no roof inspection or vague warranty language.
7. Calculate total cost, financing and return
The real project cost includes more than the panels: modules, inverter, mounting, storage, protection, design, installation, roof or distribution-board work, permits, grid connection, insurance, maintenance and financing costs.
Common routes include cash purchase, loan, leasing or third-party agreements where available. Compare them by total lifetime cost, not monthly payment alone. Incentives, tax rules, export tariffs and energy-community programmes vary by country and programme and must be checked on current official portals.
Transparent economic calculation
Net annual benefit = self-consumed kWh × avoided purchase price + exported kWh × export value − annual costs
Simple payback = net investment ÷ net annual benefit
Build at least three scenarios—conservative, central and favourable—by varying generation, electricity price, self-consumption and maintenance. Simple payback is useful, but it does not capture financing, component replacement, residual value or risk on its own.
8. From contract to commissioning
- Site survey and final design: dimensions, shading, structure, electrical diagram and component compatibility.
- Permits and grid application: according to the municipality, grid operator, system size and installation type.
- Site preparation: any work required on the roof, switchboard or cable routes.
- Mechanical and electrical installation: mounting, modules, inverter, protection and battery.
- Testing: polarity, insulation, strings, protection devices, earthing and configuration.
- Grid connection and activation: completion of the operator's procedure.
- Handover and monitoring: app access, alarm explanation and review of the first production data.
At handover, request the single-line diagram, datasheets, required declarations, test records, serial numbers, warranties, monitoring credentials, backup configuration and maintenance plan. A system can be switched on while the project is still incomplete on paper.
Final checklist before signing
- I have collected 12 months of consumption and listed future loads.
- I have chosen grid-connected, hybrid or off-grid based on actual use.
- I have simulated production using local data and explicit loss assumptions.
- I have checked area, shading, structure and the remaining roof life.
- I have verified electrical compatibility and component documentation.
- I have compared at least three quotations for the same configuration.
- I know what is included, excluded and who manages each administrative step.
- I have calculated the return with prudent assumptions and financing costs.
- I have checked current rules and incentives using official sources.
- The contract includes testing, documentation, monitoring and after-sales support.
Frequently asked questions
Do I always need a battery?
No. Storage can be useful when a large part of demand occurs after sunset, exported energy is valued much less than imported energy, or backup is required. It should be justified technically and financially, not added by reflex.
How many panels do I need?
Divide the preliminary kWp requirement by the power of one module in kWp and round up, then verify area, string voltages and inverter limits. The resulting number is a starting point, not a final design.
Must the roof face south?
No. South often maximises annual output, while east-west layouts can spread generation across the morning and afternoon and improve self-consumption. Use the actual orientation in the simulation.
Can I install the system myself?
Small autonomous systems may be suitable for competent users. For fixed or grid-connected systems, safety, compliance, warranties and administrative requirements normally call for qualified professionals.
What if the roof cannot hold enough modules?
Reduce shading, compare higher-efficiency modules, use another roof surface, pergola or ground mount, or consider a custom module. Adding panels in a poor position can weaken the project rather than improve it.
What is the first practical step?
Download your last 12 months of bills, build a consumption profile, measure the available area and simulate the yield with PVGIS. Only then does it make sense to request comparable quotations.
Turn the checklist into a real configuration
For pre-matched components, explore MR WATT photovoltaic kits. For roofs, surfaces or applications that do not suit standard formats, consider a custom-designed module.
Official tools and references
Informational content: technical, tax, planning and grid-connection requirements may change and differ by location. Always verify the rules that apply to the specific project.